Important: macros can be attached in e-mail only as files; even if a single macro is sent, it must be first exported into a file.
1. Having received the file RDAFields.mex, save it to the Macro Express folder.
2. (The assumption is your current file is MASTER5D.mex, the MacEx file that contains both the Voyager diacritics macros and the Voyager functionality macros.) Open the Macro Explorer window. Under Categories (the 2nd window from the left, select the Edit category. The macros for the Edit category should appear to the right.
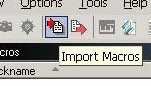
3. With the target category Edit selected, click on the Import Macros icon on the toolbar.
4. The Import Macros window will open.
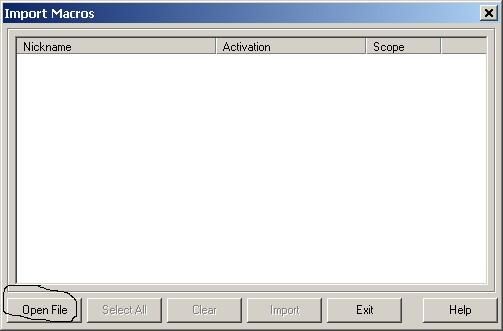
5. Click on the Open File tab. The Import Macro File window will open. Make sure "Look in" is aimed at Macro Express 3 (since that is where you moved the RDAFields.mex file).
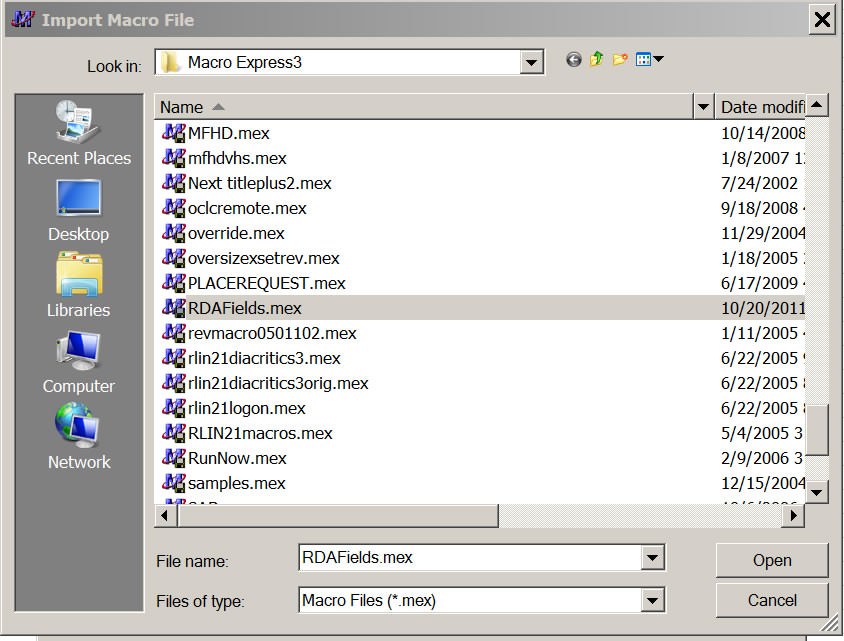
6. When the "Look in" window is open, double-click on RDAFields.mex (or select & click the OPEN tab). The Import Macros window will now list all macros in the file RDAFields.mex. (In this case, just one.)
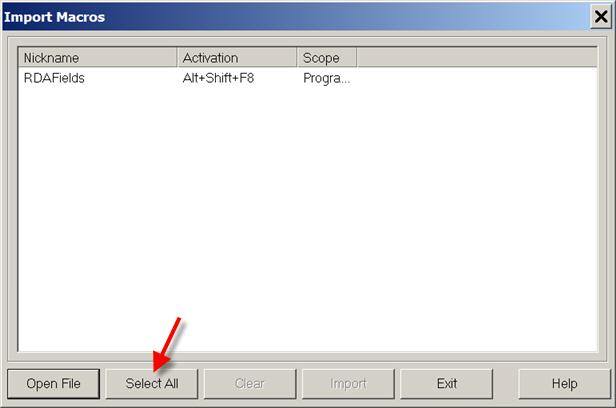
7. Click the Select All tab. The macro will be highlighted and the Import tab will be enabled.

8. Click on the Import tab. The macro will be copied into the Edit folder. Then click Exit.
Note: Sometimes when importing, you may get a message that one of the macros was using an activation key already claimed by a macro in your current file. Click Yes.
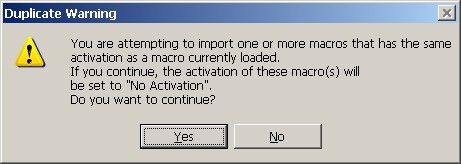
In that case, the newly imported macro will be imported as Inactivated. (It will not overlay the macro using that key activation.) You will need to either reassign the key activation on your current macro and then reactivate the import macro to its default activation key, or assign a new, non-conflicting activation key to the imported macro. (Check with your expert user.)